

Most owners only see the finished letters on the transom. Between the first sketch and that night approach photo sits a disciplined fabrication chain: CAD layout, laser cutting, forming, seamless welding, LED potting, QC, install, and a final dock or sea-trial check. Understanding how a custom luxury yacht sign is made helps captains, yacht refit managers, and naval architects specify the right milestones—and spot shortcuts before freight leaves the factory.
Stage 1: Intake, Specs, and CAD Layout Proof
Every serious program starts with a specification pack, not a vague “make it look expensive” brief. The fabricator converts your name, typeface, and hull constraints into a dimensioned CAD layout that becomes the contract drawing for cutting and mounting.
- Identity inputs: exact spelling, optional crest or logo vectors, and finish preference (mirror or brushed).
- Hull inputs: install location, approximate letter height, surface curvature photos with a scale reference, and cable-exit intent.
- Electrical inputs: vessel DC voltage, dimmer or controller notes, and whether you want single-color or RGBW glow.
The CAD proof locks kerning, stroke weight, stud spacing, and overall width against the transom or quarter panel. Approving that proof is the same gate covered in our yacht builder signage integration checklist—if the drawing is wrong, every downstream process amplifies the error. For a high-level overview of the commercial path, see how it works.
Stage 2: Material Prep and Laser Cutting 316L
Premium exterior letters begin as marine-grade 316L stainless steel sheet selected for thickness that holds edges under polishing without looking fragile on a large hull. Flat patterns from CAD drive CNC laser or waterjet cutting so letterforms stay sharp on serifs, script terminals, and thin crossbars.
After cutting, edges are deburred and inspected for kerf regularity. Illuminated programs leave returns and channel geometry sized for LED modules and potting depth—not just silhouette beauty. This is where a true custom yacht sign diverges from vinyl or flat plate: the metal becomes both structure and light housing.
Stage 3: Forming, Seamless Welding, and Finish
Returns are formed and joined so hollow letters read as continuous jewelry, not assembled hardware. Skilled TIG work on 316L, followed by grind-blend and polish, is what makes joints disappear under dock lighting—the discipline explained in our guide to seamless welding for luxury yacht signage.
Finish selection is then locked across every face and return:
- Mirror: progressive grit and buffing for specular, high-glamour reflections—see mirror stainless steel programs.
- Brushed: controlled grain direction that hides fingerprints and reads quieter on explorer or classic hulls.
Post-weld passivation restores corrosion resistance so chloride-rich spray does not attack heat-affected zones. Skipping that step is a common budget shortcut that surfaces months later as tea staining.
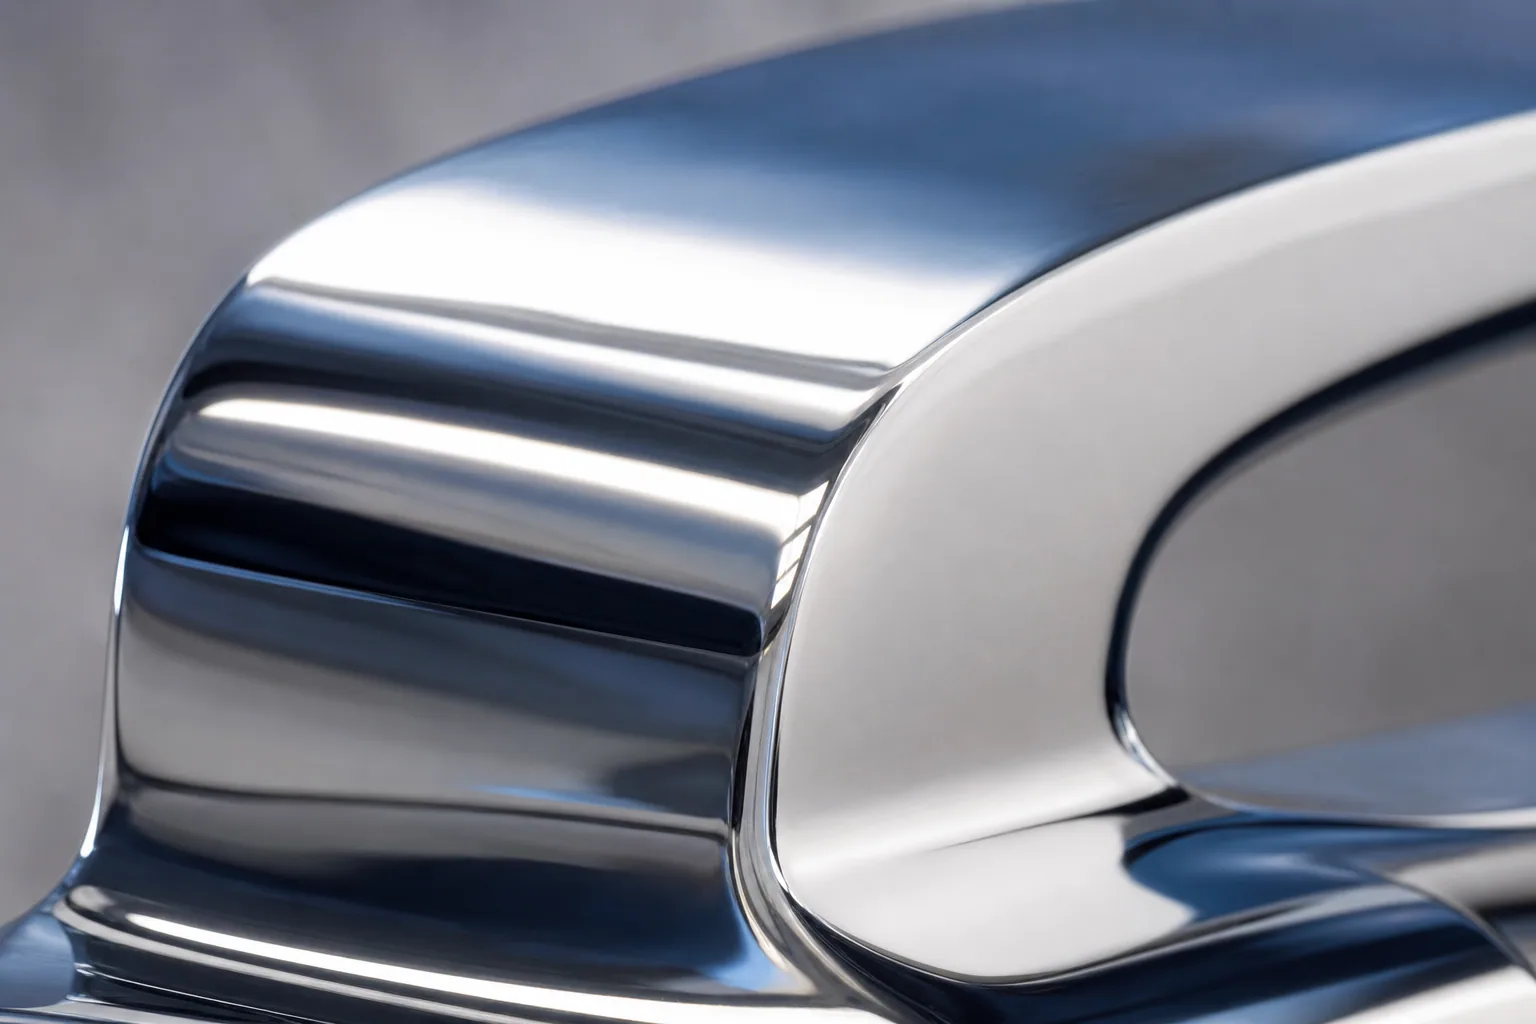
Weld, blend, and polish before LEDs go in. 316L Materials.
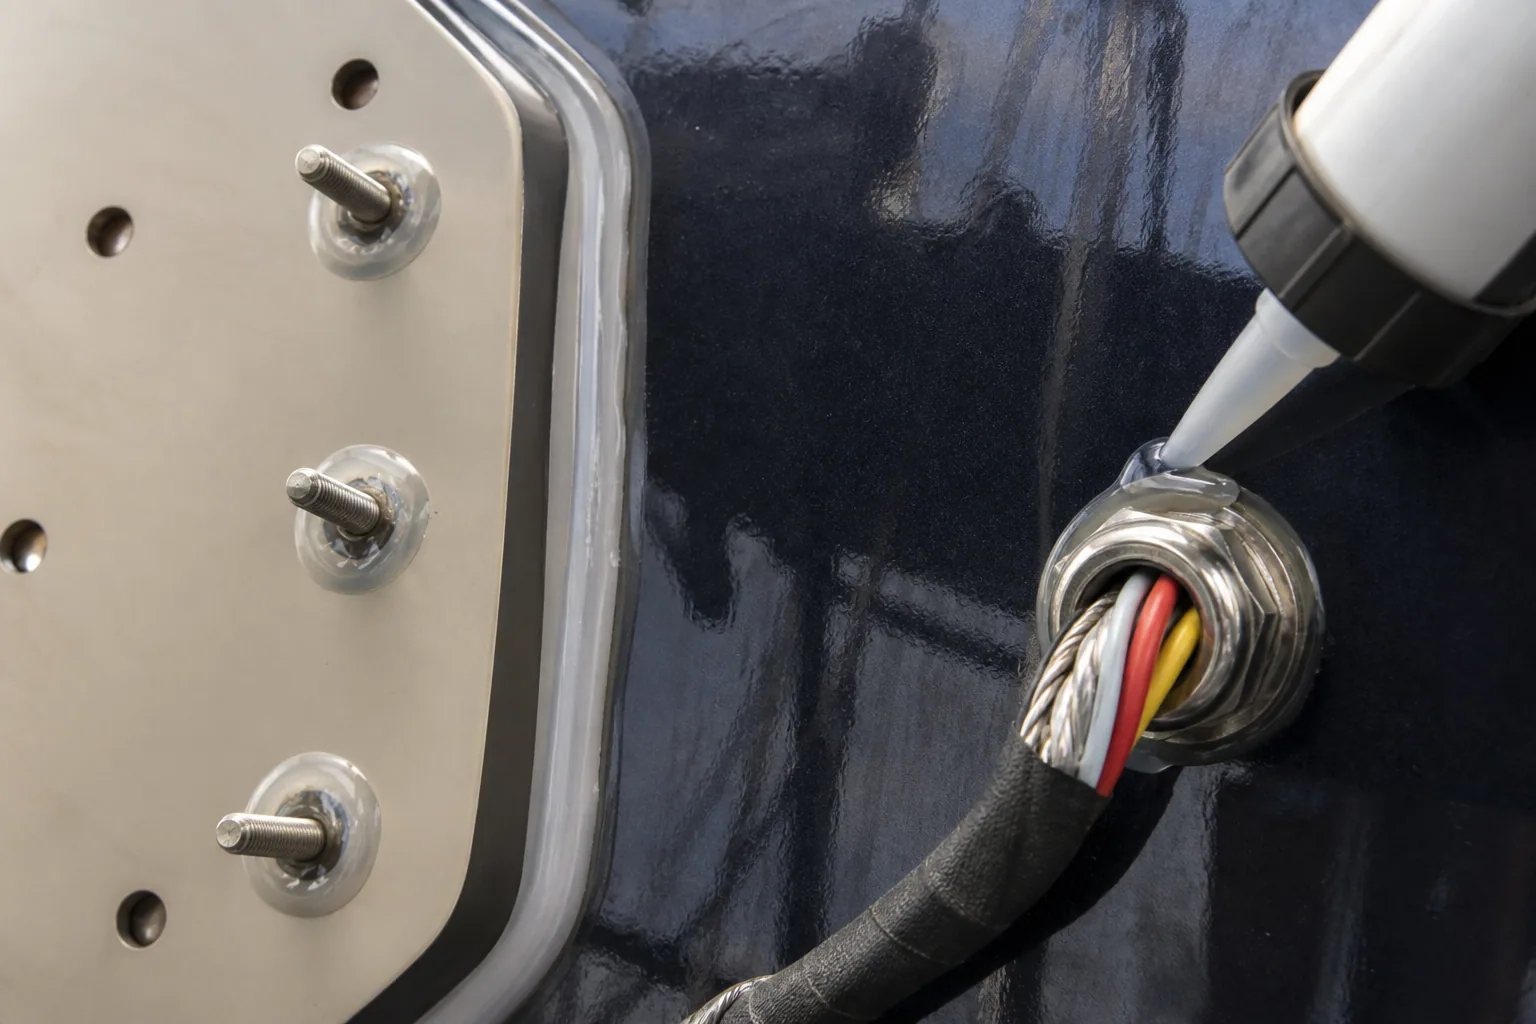
Install and night check close the loop. Installation.
Stage 4: LED Channels, Potting, and Waterproofing
For illuminated lettering, modules are seated in the channel, wired for the vessel’s 12V or 24V system, and sealed with marine potting compounds to the target IP rating. Uniform module spacing and clean diffuser interfaces matter as much as metal finish—hot spots and dark corners show immediately on a night approach.
Compare glow strategies in our lighting options overview, and dig into seal integrity in marine-grade LED waterproofing (IP67 vs IP68). A shipyard sign supplier worth the invoice will photo-document potting depth and perform a dry electrical test before crating—not after the letters are already on the hull.
Planning a new build or yacht refit lettering package? Share CAD or hull photos and we will return a layout proof with fabrication milestones.
Stage 5: QC Photos, Crating, and Freight
Before shipment, quality control should capture:
- Overall layout against the approved CAD dimensions
- Close-ups of weld zones and finish uniformity
- LED power-on photos (day and preferably low-light)
- Stud, gasket, and cable-gland readiness for the yard
- Crate packing that protects mirror faces and diffuser edges
Refit calendars live or die on honest lead times. Align crate ETA with gelcoat, electrical, and haul-out windows using the timing guidance in refit yard custom lettering lead time. Receiving letters early is fine; receiving unfinished letters to “save the schedule” is not.
Stage 6: Install, Dock Check, and Sea Trial
On the vessel, the yard mounts letters on sealed studs or pads, routes low-voltage cable, and seals penetrations with marine sealant. Follow a disciplined sequence from our backlit yacht sign installation guide so waterproofing and alignment survive the first washdown.
The final “sea trial” for signage is often a structured dock check plus a short underway look-back:
- Daylight: spacing, baseline, and finish consistency from the quay
- Night: even halo or face-lit glow, correct color temperature, dimmer response
- Wet check: hose or first spray without ingress at glands or returns
- Vibration: no chafe on cable, no buzz against the hull
Captains running full refit packages can fold these gates into the broader superyacht signage checklist so lettering is not the silent critical path on handover day.
Typical Fabrication Timeline at a Glance
Exact schedules vary by complexity, but mature programs usually look like this after CAD approval:
| Phase | What happens | Typical duration |
|---|---|---|
| CAD & proof | Layout, kerning, stud map, owner/yard approval | 3–10 days |
| Cut & form | 316L cutting, returns, deburr | 1–2 weeks |
| Weld & finish | TIG, blend, polish or brush, passivation | 1–2 weeks |
| LED & seal | Module fit, potting, electrical test | 3–7 days |
| QC & ship | Photo pack, crate, freight to yard | 3–10 days transit dependent |
| Install & check | Fit, seal, night and wet verification | 1–3 days on vessel |
Treat the table as a planning aid for naval architect specification meetings—not a promise that every crest, RGBW controller, or multi-station package fits the short end of each range.
What Owners and Yards Should Demand in Writing
If you only remember five contractual points, make them: alloy grade (316L), finish standard with QC photos, LED voltage and IP target, approved CAD dimensions before cutting, and a documented dock/night check after install. That paperwork turns a beautiful product page into a deliverable a shipyard can defend at sea trial.
FAQ
How long does it take to make a custom luxury yacht sign?
Typical programs run four to eight weeks from approved CAD layout to crated shipment, depending on letter count, finish (mirror vs brushed), LED complexity, and queue. Rush slots exist for refit windows, but laser cutting, welding, polishing, potting, and QC each need dedicated time—compressing polish or waterproofing is where quality usually fails.
What files do you need before CAD layout for yacht lettering?
Send the vessel name and registry style notes, preferred typeface or logo vectors (AI/EPS/SVG), approximate letter height, mounting surface photos with a scale reference, hull voltage (12V or 24V), and install location (transom, quarters, or flybridge). For new builds, include naval architect or shipyard mounting pads and cable-exit drawings so stud and grommet positions match the hull.
What happens during a yacht sign sea trial or dock check?
After install, captains and yards typically verify daylight readability, night halo or face-lit uniformity, waterproof integrity after washdown or first spray, correct polarity and dimming behavior, and that no vibration or load path stresses cable glands. A short sea trial or overnight dock check catches seal leaks and uneven LED strings before the vessel leaves the yard.
Is 316L stainless required for every custom yacht sign?
For exterior marine exposure, 316L (or equivalent marine-grade austenitic stainless) is the reliable baseline against chloride pitting and tea staining. Interior salon marks may use other finishes, but transom, quarter, and flybridge lettering should stay on 316L with proper passivation after welding—especially on illuminated hollow letters with sealed LED channels.
Can shipyards track fabrication milestones for a custom yacht sign order?
Yes. Mature shipyard sign suppliers share CAD proof approval, cut/form complete, weld-and-polish photos, LED potting and IP test notes, and crate photos before freight. Align those gates with the refit critical path so electrical and gelcoat work finish before letters arrive on the dock.


